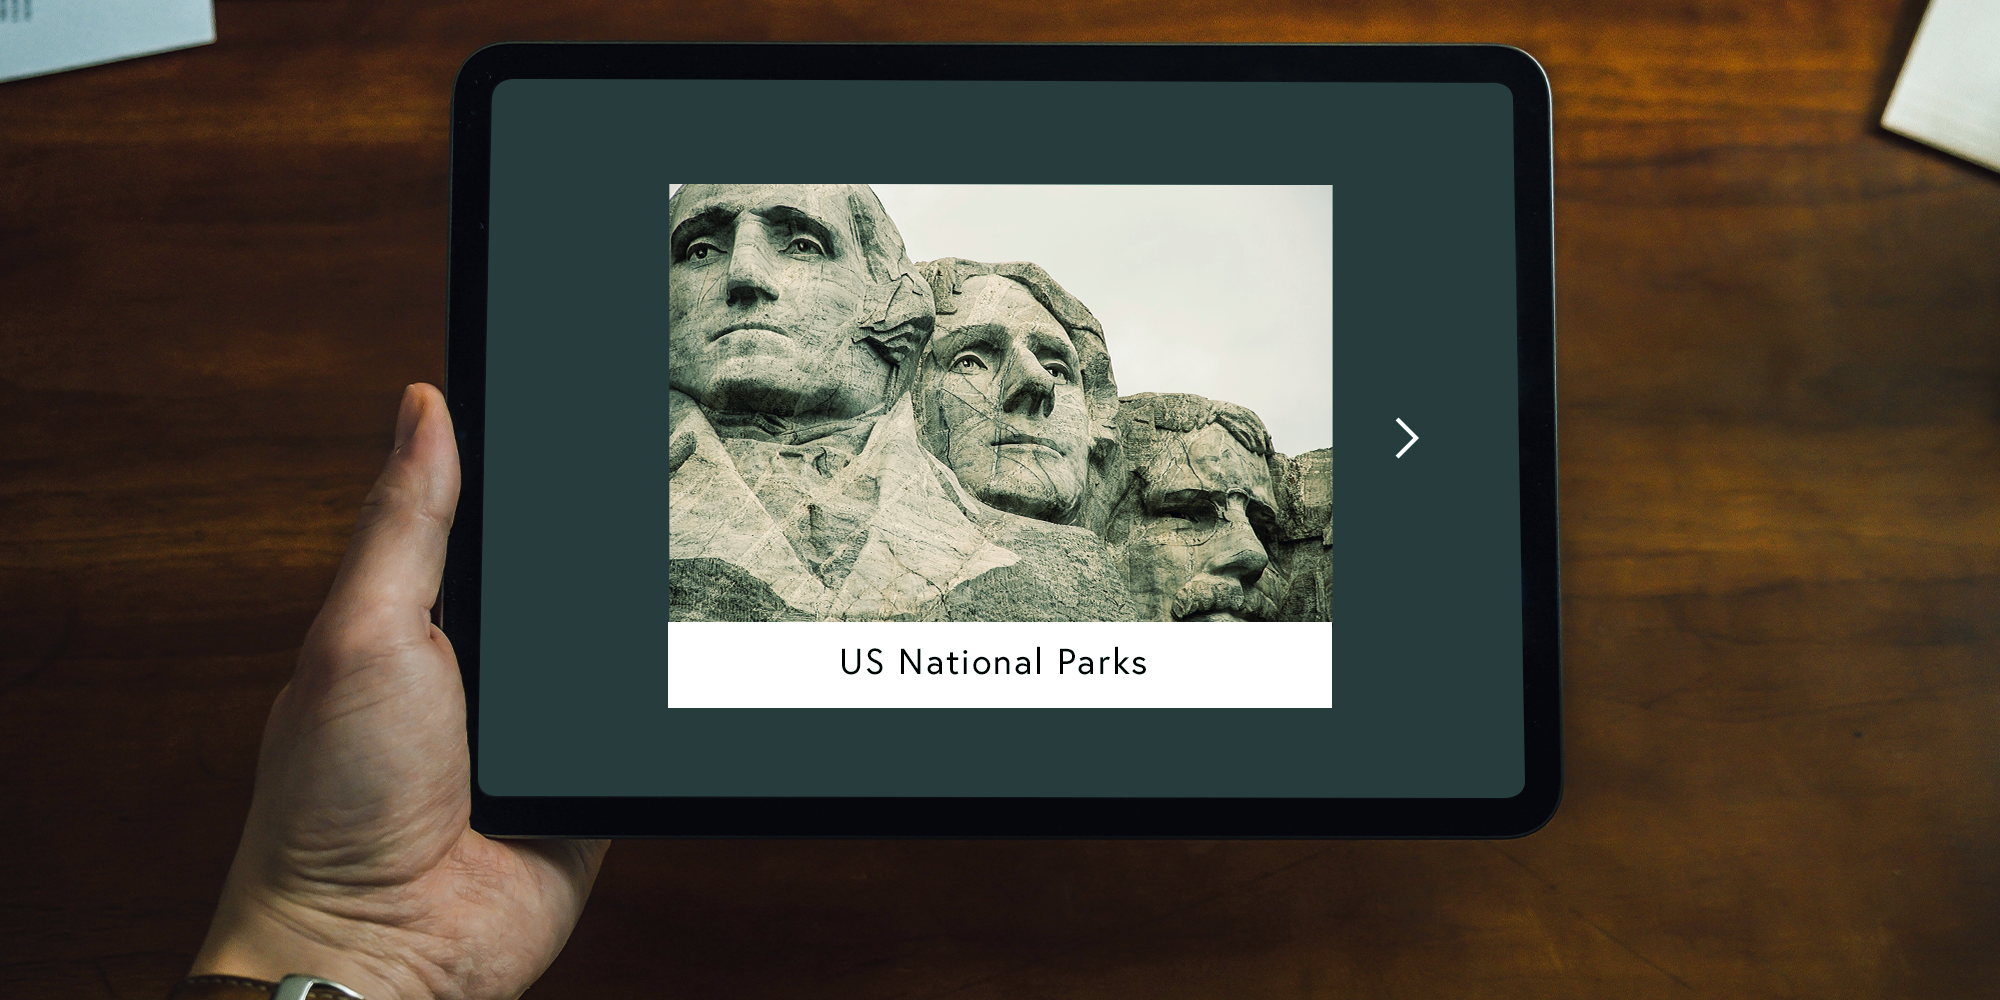
As schools increase distance and remote learning plans, educators face challenges when tasked with creating engaging content for students. Teachers need to be able to pull together resources for students while also having a platform for students to create and collaborate on their own. However, remote learning doesn’t mean you have to lose your creativity.
With Book Creator, you can create unique and informational books for your students. It allows you to app-smash wherever you are working. Pull together stories, lessons, videos and more. Then publish directly to the Apple Books app on your iPad. Your students will also have the option to create their own published books to express themselves in new and fun ways. It’s important that you can easily demonstrate and share that information to your students wherever they are learning.
How to use Book Creator during remote class sessions
Luckily, there’s a way to share your published Book Creator books as part of remote lessons. This method applies to both live and recorded lessons.
Reflector, along with a videoconferencing tool like GoToMeeting or Microsoft Teams, can be the easy solution to showcase your work with Book Creator quickly and seamlessly in your remote environment.
Learn how below.
Step 1
Download and install Reflector onto your Mac or PC.
You will use the screen mirroring function on your devices to wirelessly share your screen directly to your Mac or Windows computer.
Note: The following steps are for remotely using Book Creator on iPad, but don’t forget that Book Creator works in web browsers on Chromebooks and other computers as well. Open app.bookcreator.com to create and manage your projects. You can use Reflector Teacher to share the project with students remotely.
Step 2
Open your Book Creator project in the Apple Books app on your iPad.
Note: In order to do this, you must publish (share) your Book Creator project to the Apple Books app.
Step 3
Open your preferred videoconferencing tool.
Step 4
Open Reflector.
Step 5
Open the Control Panel on your iPad and select Screen Mirroring.
Note: Make sure your iPad is connected to the same wifi network as your computer!
Step 6
Select your computer’s name from the list of screen mirroring options to wirelessly mirror your iPad to your computer.
Step 7
Within your videoconferencing tool, select the option to share your screen.
Note: The videoconferencing tool is not needed if you prefer to record your lesson and share it at a later time instead of holding a live remote class. Simply utilize the recording features in Reflector. You can record your mirrored device screen as well as your own voiceover commentary. You can also enable your computer’s webcam to include it in the recording.
Step 8
That’s it! Now that your iPad is mirrored to your computer screen and your videoconferencing tool is screen sharing to your audience, everyone can see your Book Creator project! .
Your students will be able to follow along like they are back in the classroom. You can walk through your own book and showcase student work seamlessly and wirelessly.
Right now, Book Creator is offering a special upgrade to any schools affected by coronavirus.
