A new Ditto update brings improvements to the Ditto Account Portal, digital signage and Ditto Connect for Web.
Here’s what’s new in the latest Ditto release:
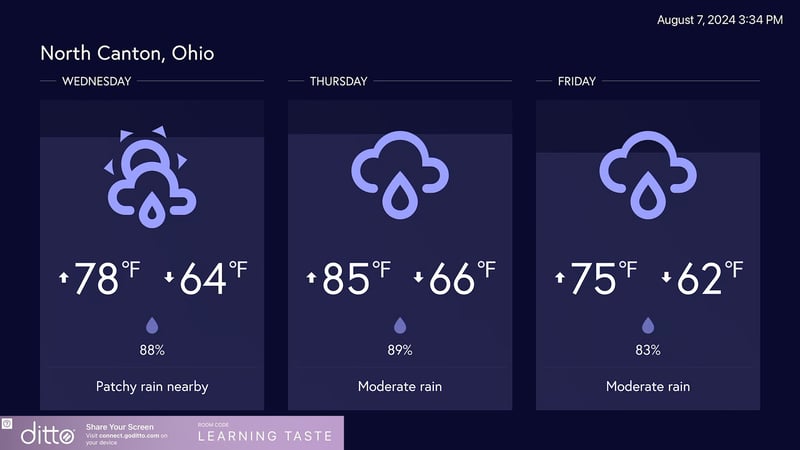
Add date and time to your digital signs
We added an organization-wide setting that enables Ditto users to add the date and time to their digital signage. Users can now add the date and time to all of their signage assets simply by enabling this setting in the Ditto Account Portal.

Go to My Organization > Customization > Organization Settings > Toggle on “Always Show Date and Time on Signage”
You can also select which corner of the screen you want the date and time to appear to make it better aligned with your digital signage content.
Easier access to help
We also added a new help option on the Ditto Account Portal Dashboard. This icon provides quick access to our knowledge base and includes the ability to open a new support ticket.

New bulk actions
This update includes the ability to mass delete Ditto rooms and receivers. Previously, account admins were required to delete rooms and receiver one at a time. This new function makes it easier to manage and maintain your account.
Release notifications
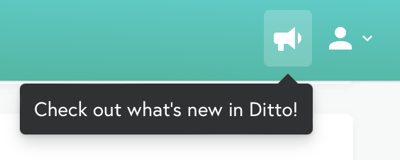
We added release notifications to the top of the Ditto Account Portal. You’ll find it next to the “My Account” icon. This makes it incredibly easy to see the latest Ditto features and updates without searching for them. You can now quickly discover what’s new in the same place you manage your account.

Ditto Connect for Web
We added the ability to select and mirror to specific Ditto receivers in Ditto rooms that contain multiple receivers. Previously, this option was only available in the Ditto Connect apps. Users now have this ability when initiating screen mirroring connections via the Ditto Connect webpage as well.
This function allows users to pick and choose which screens they want to mirror to. For example, in a Ditto room with four receivers, a user may only want to connect to one or two of them. They now have that flexibility when using Ditto Connect for Web.
Visit our Knowledge Base if you have questions.
Don’t forget: Subscribe to our blog so you never miss an update.
