What’s Roon and How Does it Integrate with QNAP?
If you’re passionate about music you may have heard of the premium music listening software, Roon. Roon provides high-fidelity streaming and brings a degree of connection, with your music and the artists behind the music, that has largely been lost in the digital age until now. Being a long time leader in home media servers, QNAP is providing a convenient solution for Roon that just makes sense.
How Does Roon Function?
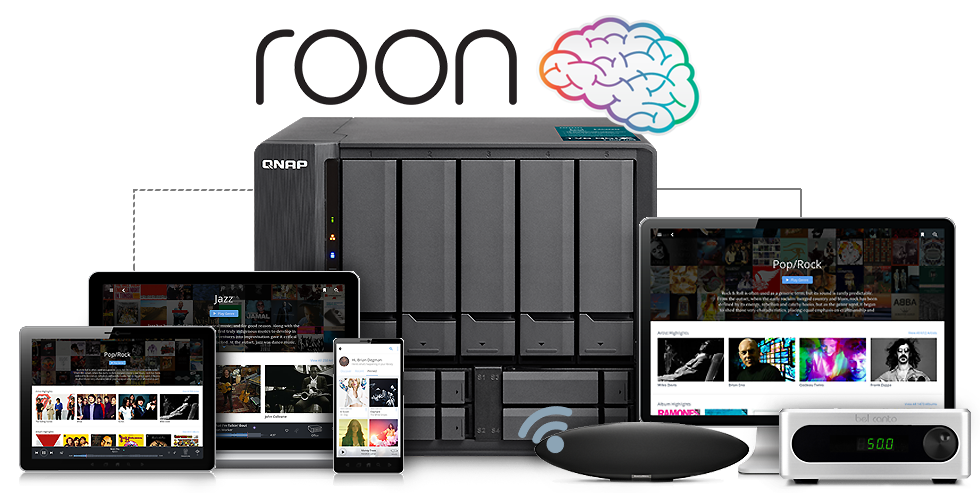
To understand QNAP’s role with roon we first need a basic concept of the Roon software. Roon can be broken down into three main components: The core, the control, and the output. The core is the “brain” of Roon integrating audio content with extensive metadata to create the unique music browsing experience that Roon offers; the control is where you access the UI to navigate and control your listening experience; And the output is of course, the end point where the music is actually played.
QNAP’s Roon Solution
Now, with QNAP being first and foremost a data storage device, of course you’ll have plenty of space to store sizable music libraries for Roon, but where QNAP really shines is its ability to host the Roon core. Due to the architecture of Roon it’s recommended to host the Roon core on a server with the following specifications:
- SSD storage
- An Intel Core-i3 processor or better
- At least 4GB of RAM
QNAP offers many NAS models with this level of processing power, compatibility with SSDs and large amounts of memory. And while many PCs could fulfill these requirements and do a fine job of hosting the Roon core, the advantage to running the Roon core on a QNAP NAS is that you typically keep a NAS running 24/7; this way your music will always be available, without you having to constantly run Roon on your computer.
Which QNAP NAS is Right for Roon?

If you’re setting up your own Roon system you can start with an appropriate QNAP; basically, any of the core-i series, Xeon, or AMD models with at least 4GB of RAM should do fine. As stated above it’s highly recommended to run Roon on SSD storage, but before you get scared off by the thought of taking a huge hit to your wallet buying SSDs, keep in mind that you’ll only need a small amount (at least 64GB) of SSD storage to run Roon. If you have m.2 SSD slots or PCIe Slots where you could install m.2 slots, you could even create a storage pool there to host Roon and avoid using up any of the standard drive bays. Once you have the NAS populated with the proper drives you can simply install the Roon app from the App Center in the QTS operating system that comes standard on a QNAP. If you try opening the Roon app on the NAS you won’t really see much going on because Roon for QNAP is “headless”; in other words you won’t be controlling anything from the app on the QNAP. Though it may not appear that much is happening on the NAS, rest assured that the Roon core is running.
Installing Roon on Your QNAP
To help you start running Roon on your QNAP NAS we’ve created a tutorial blog that you can refer to.
How Do I Access My Music?
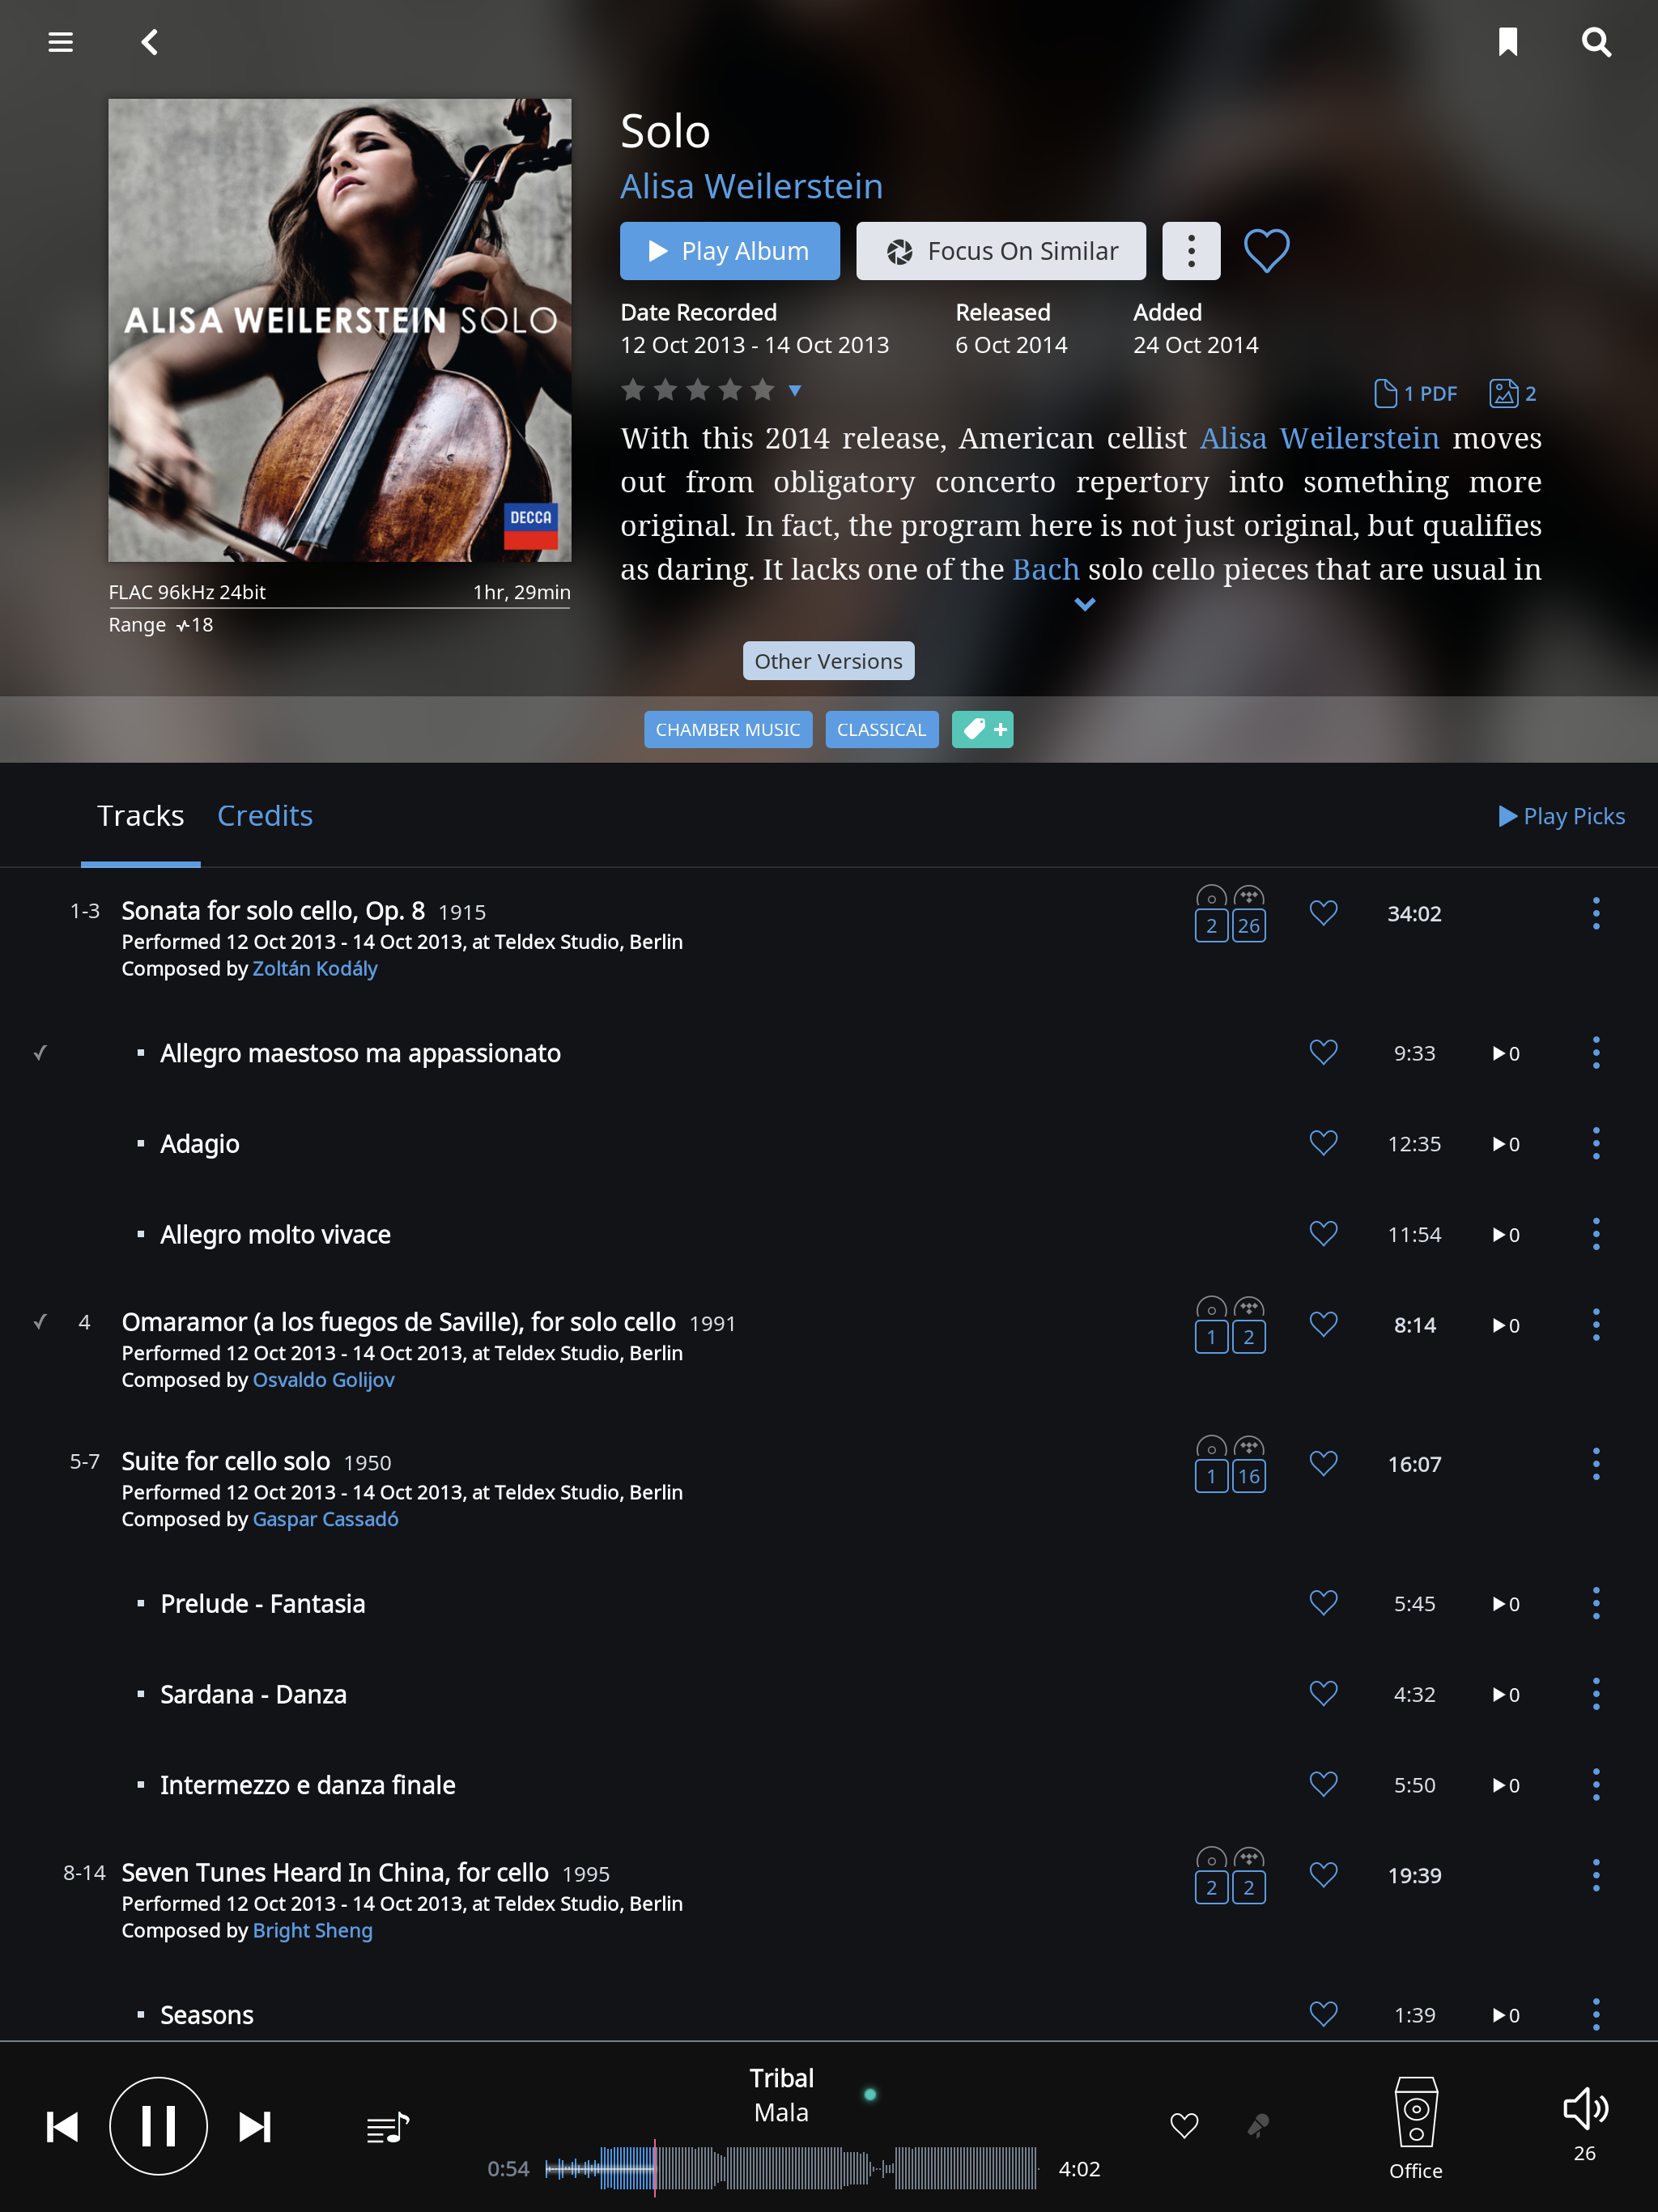
So now that the Roon core is running on the NAS the next step is to access that core. You’re going to do this with a Roon controller. You can install Roon software that includes the controller on it on many devices but what I’ve found most convenient is to control it from my phone. To do this, simply install the Roon App on your phone. When you start up the app it will search for a Roon core in your network. Keep in mind that you will need to be on the same network as the QNAP running Roon. Once you connect to the core you can now browse all of your content with Roon and even play it either from audio output connected to the NAS or from your phone. To add your music library, in the Roon settings under storage you can select the folder with your music and it will be accessible in Roon. Roon can also be integrated with Tidal if you prefer to just stream your music.

What Should I Use to Play My Music?
Finally it’s time to consider the best option for an output device. As I alluded to earlier, you can already play music with Roon on devices that you probably already have such as your NAS, a phone, or a computer. But if you’re really trying to create the ultimate home sound system, you probably want something a little more substantial in terms of sound equipment. This is where “Roon Ready” audio equipment comes in. “Roon Ready” equipment comes ready to connect without hassle. As long as the endpoint audio equipment is on the same network you’ll be able to choose them as an audio output. You can select your output in the controller on the album page of the song you’re listening to. On the right side of the “Play Now” button there’s an arrow pointed down and if you click that arrow you’ll be able to choose from the various audio outputs available on the network.
To Sum Things Up…
There you have it. Run the Roon core on your NAS, control it from your phone, and play it on your “Roon Ready” sound system. Also, you can keep in mind that if you want to host your music library on your NAS but for some reason prefer to run the core on something else, you can easily access the music on your NAS in Roon simply by mounting the folder from your NAS to the device that your hosting the core on, and you can just add that folder in the settings in the Roon UI. Happy listening!
